Swazzle Inc. is a puppet studio that builds high-quality custom puppets for clients, productions, organizations, and institutions of all types. Swazzle builds puppets for television shows and specials, streaming series, ad campaigns, theatrical productions, organizations, online content creators, YouTube shows, museums, and zoos, as well as individuals who want a professional puppet of their own. Here are some of the notable clients Swazzle has built puppets for.
Swazzle has built a wide variety of puppets for TV shows of all kinds, from recreating the Simpsons family for a special Christmas episode of the long-running animated series to building the puppet stars of Jimmy Kimmel’s adult comedy show Crank Yankers. Swazzle has built large puppets, including an oversized bull head for Young Rock, as well as traditional moving-mouth hand puppets and small rod puppets, like Waffles and Mochi from Michelle Obama’s food-culture show, Waffles and Mochi. Swazzle has built puppets for TV shows including Crank Yankers, Kidding, Waffles and Mochi, Waffles and Mochi’s Restaurant, Big Mouth, Claws, Young Rock, The After Party, Crazy Ex-Girlfriend, New Girl, The Simpsons, Mack & Moxy, Noah’s Park, A.N.T. Farm, Little Big Awesome, Little Big Shots, and Raven’s Home.

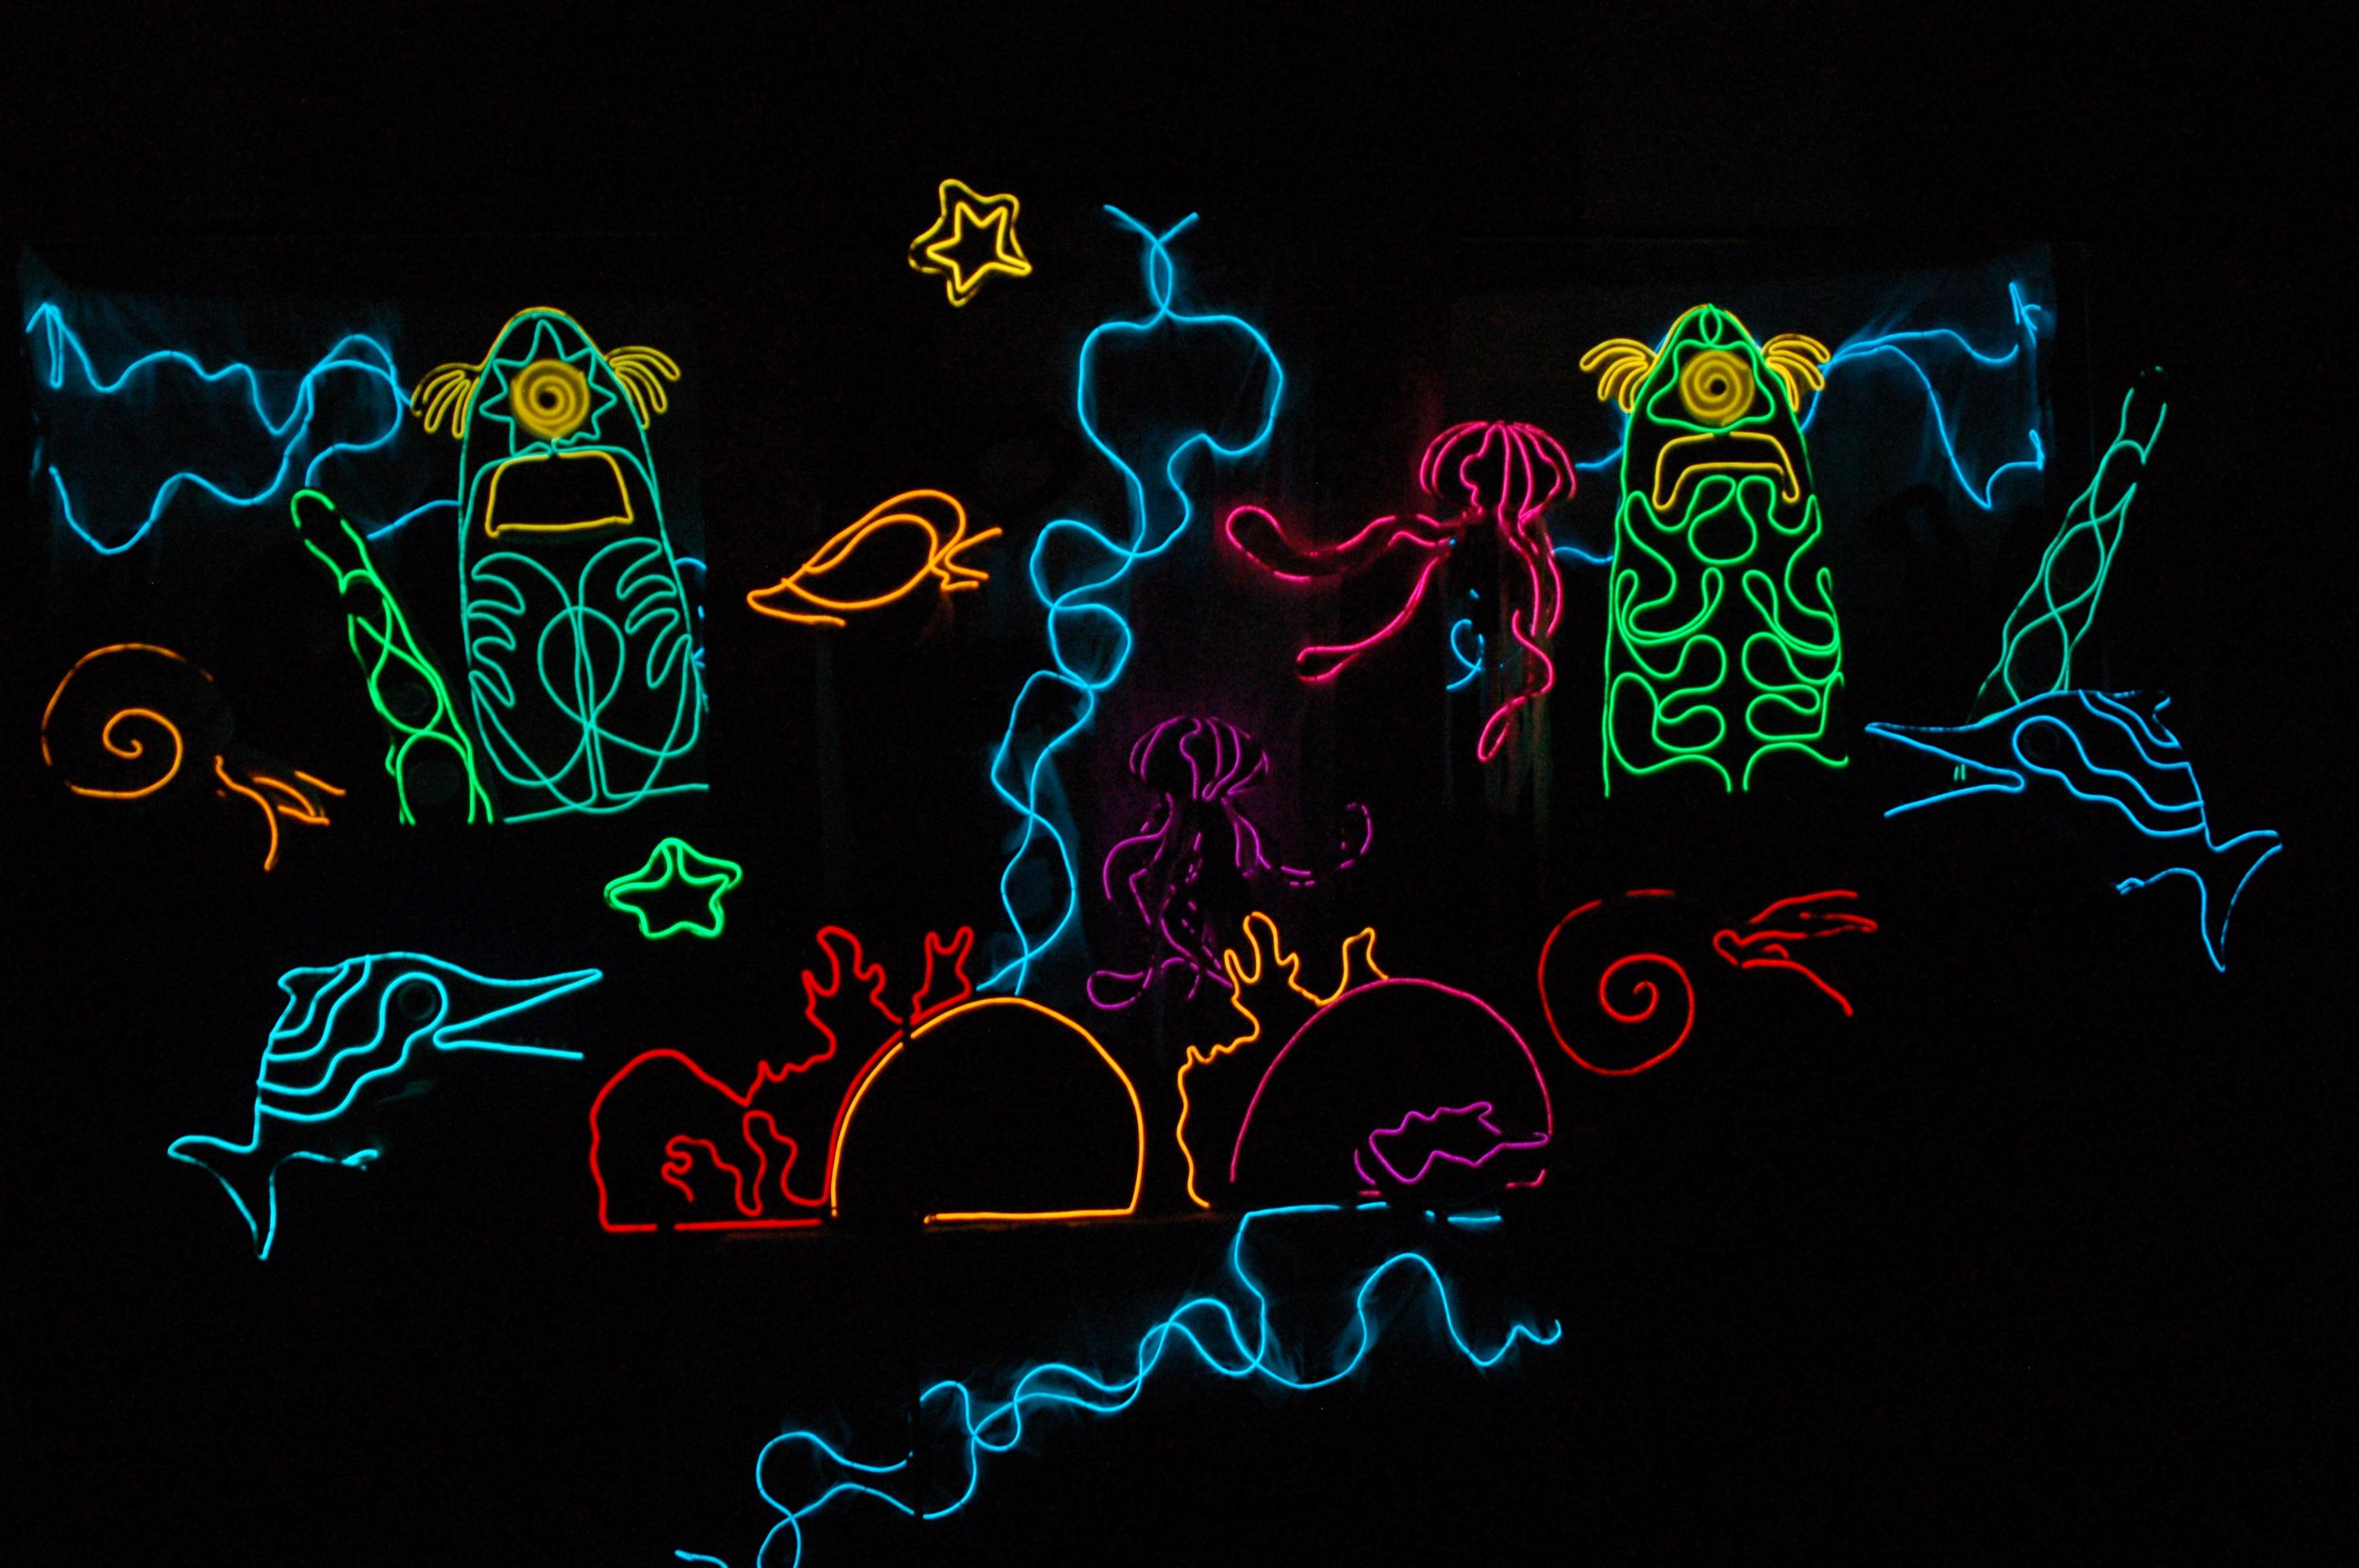
Swazzle has built puppets for television specials and pilots. Swazzle built large-scale flamingos, frogs, eels, and fish puppets for Disney’s special television event The Little Mermaid Live! as well as the cast of puppets for Cartoon Network’s pilot Pillywag’s Mansion. Swazzle has built puppets for TV specials including The Little Mermaid Live, Patton Oswalt: My Weakness Is Strong, and TV pilots including Pillywag’s Mansion and Day Tandy’s Restaurant of the Stars.
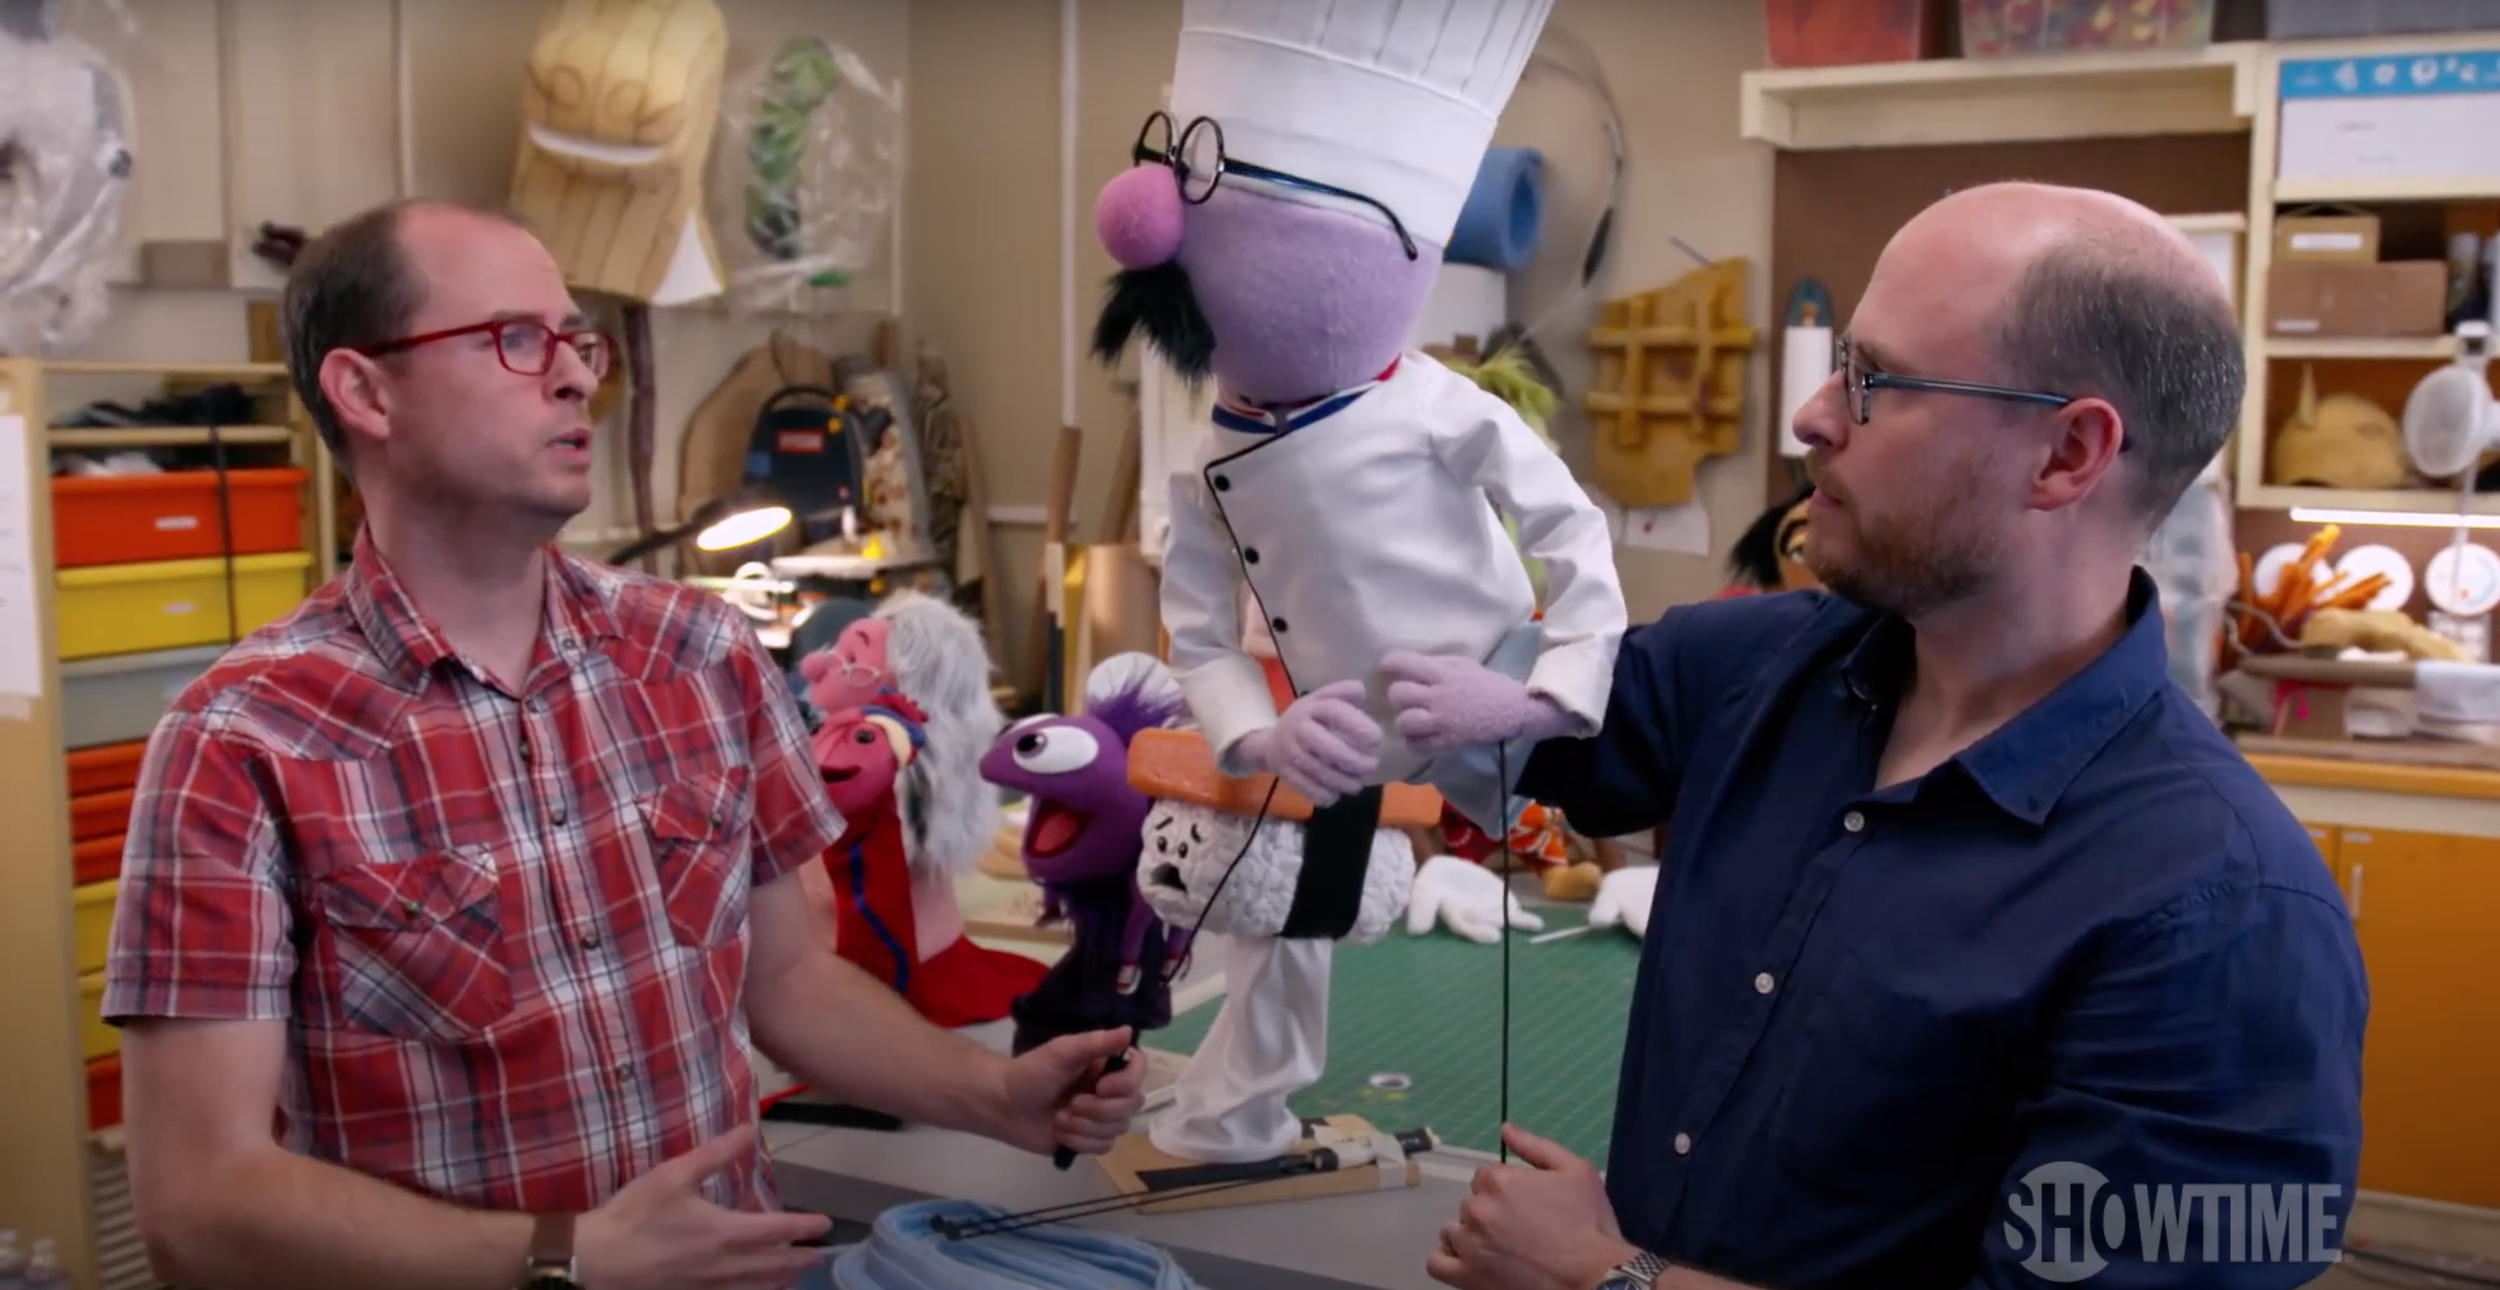
Swazzle has built puppets for several TV networks and streaming services, including ABC, Fox, HBO, Showtime, Disney Channel, Noggin, Netflix, Amazon, and Apple Plus.
Swazzle has built puppets for projects produced by well-known production companies such as Titmouse, World of Wonder, Overbrook Entertainment, and Retrofit Films.
Swazzle has built puppets for various live theatrical productions, including recreating many of the puppet characters from Pee-wee’s Playhouse for The Pee-wee Herman Show, directed by Alex Timbers and starring Paul Reubens. Swazzle has also built puppets and specialty costumes for Lythgoe Family Panto, such as large camel puppets for Aladdin’s Winter Wish, life-size heads for the Seven Dwarfs for A Snow White Christmas, and puppets and masks for Beauty and the Beast: A Christmas Rose. Swazzle has built puppets for theater productions like The Pee-wee Herman Show, Lythgoe Family Panto, Story Pirates, Nuestro Bien, and Rumpelstilzchen’s Fairy Gold. Swazzle also built a cast of puppets for their own theatrical productions of The Little Prince and Dream Carver. Swazzle also built puppets for a presentation produced by Disney Theatrical Group. Swazzle has also built rental puppets that have been featured in various productions of Avenue Q, Little Shop of Horrors and Shrek the Musical.

Swazzle has built puppets for online influencers and YouTube productions, including the cast of The Treebees and the online musical short Everybody Counts. Swazzle built a collection of dolls for YouTuber MrBeast. Swazzle has built puppets for online productions like The Treebees, MrBeast, Juno Jr., The Adventures of Zobey, Riff Rockit, and Everybody Counts.
Swazzle has worked with various marketing and advertising agencies to create puppet brand ambassadors for commercials, print, billboards, interactive experiences, and activations. Since 2020, Swazzle has collaborated with Charlie Uniform Tango to design unique rental puppets for their long-running NTTA – North Texas Transit Authority ad campaign. Swazzle has built puppets for ad agencies including Republic, Camp + King, Charlie Uniform Tango, Yesler, Gigawatt Group, and Heaven Inc.

Swazzle has built puppets to advertise a diverse range of products and businesses. For example, Swazzle built a puppet of Katy Perry to perform next to the pop star herself for the British food delivery service Just Eat. Swazzle has built puppets for ad campaigns for Walmart, Old Spice, Verizon, Energizer, Just Eat, NTTA – North Texas Transit Authority, Charley’s Philly Steaks, The Old Cannery Furniture Warehouse, and All Smiles Community Oral Health.
Swazzle has built puppets for various institutions such as museums, zoos, aquariums, and theme parks to be used in both live and video presentations. Swazzle built a colorful, large-scale viperfish parade puppet for SeaWorld San Antonio and developed a puppet musical for the Bronx Zoo called Fimi’s Forest Adventure, which featured a cast of large animal puppets, including a baby elephant. Swazzle has built puppets for Discovery Cube Los Angeles, Aquarium of the Pacific, Los Angeles Zoo, Bronx Zoo, and SeaWorld San Antonio.
Swazzle has built puppets for a range of faith-based organizations and productions, including Adventures with Far-Flung, which has brought Swazzle’s puppets on missionary trips spanning the globe from Africa to the Arctic. Swazzle has built puppets for many faith-based organizations, including Adventures with Far-Flung, Heartmatters, Noah’s Park, and Amazing Life.
Along with building puppets for large-scale productions like TV shows and ad campaigns, Swazzle has built puppets for individual creators such as children’s book authors and illustrators, educators, entertainers, Twitch streamers, and puppeteers. Swazzle has also created portrait puppets of both people and pets for high-end birthday and wedding gifts.